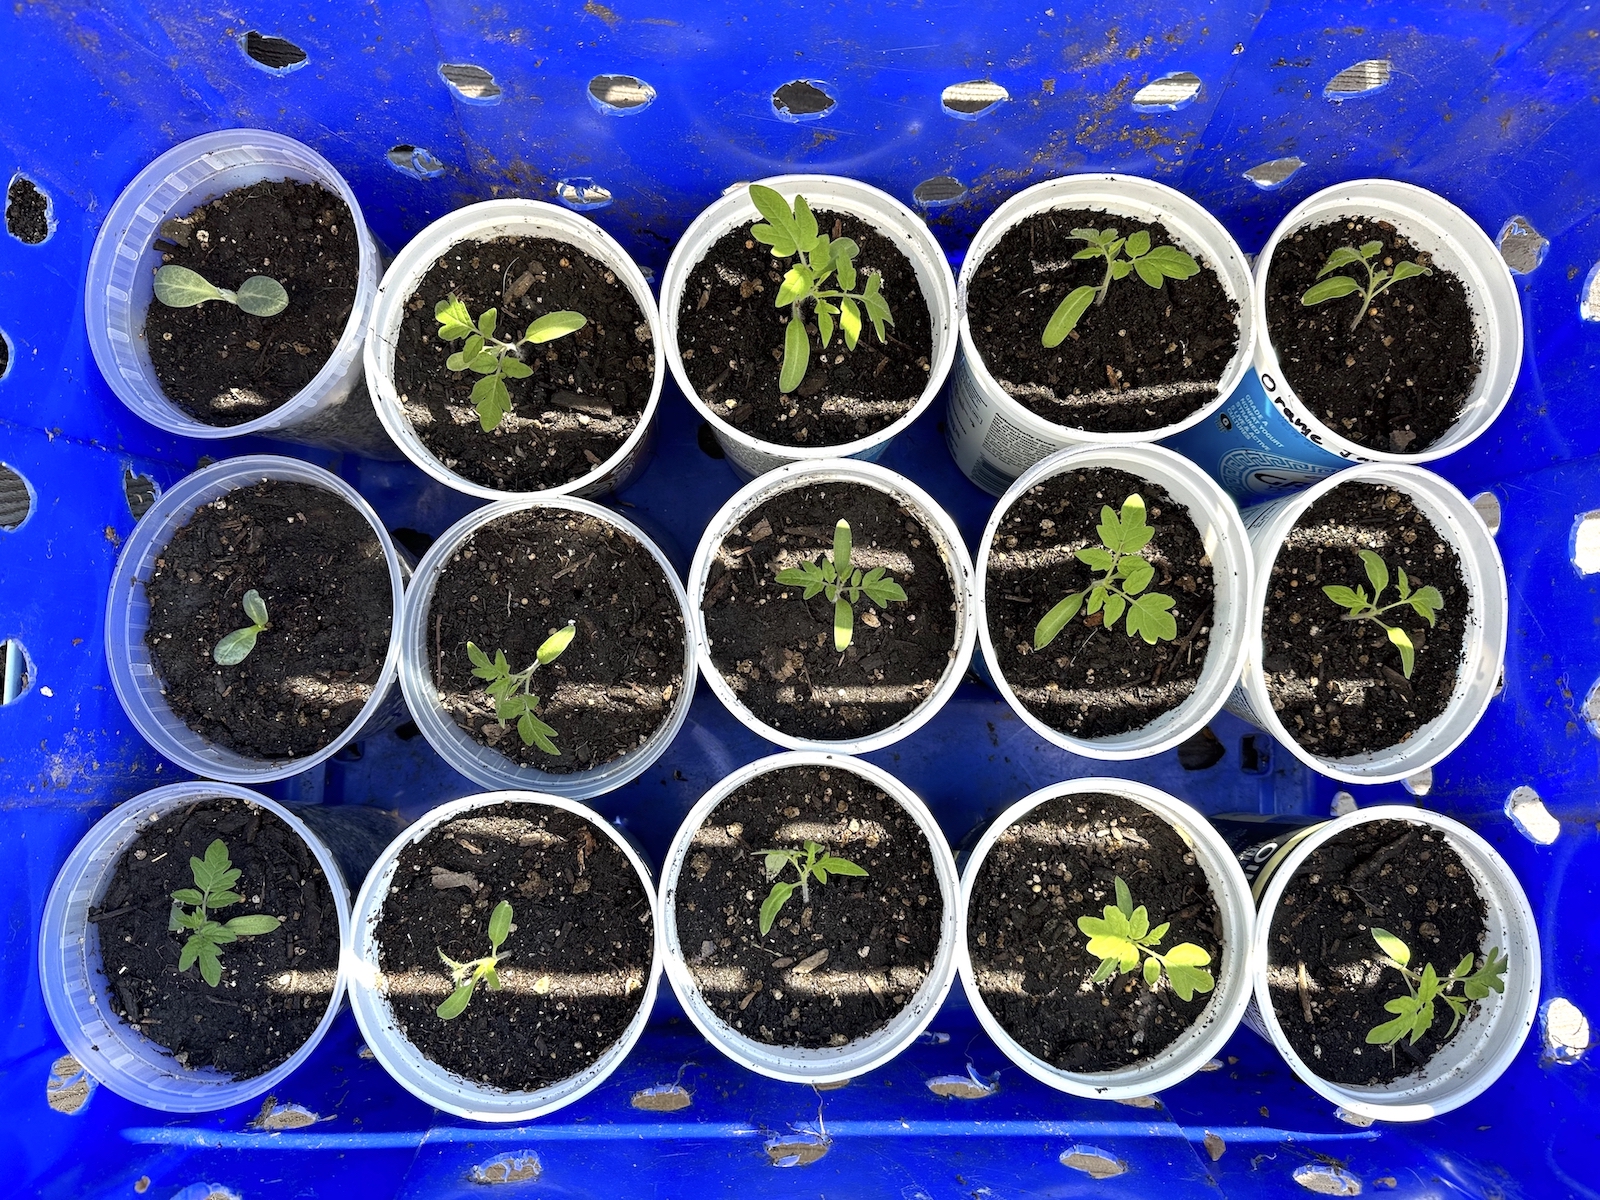
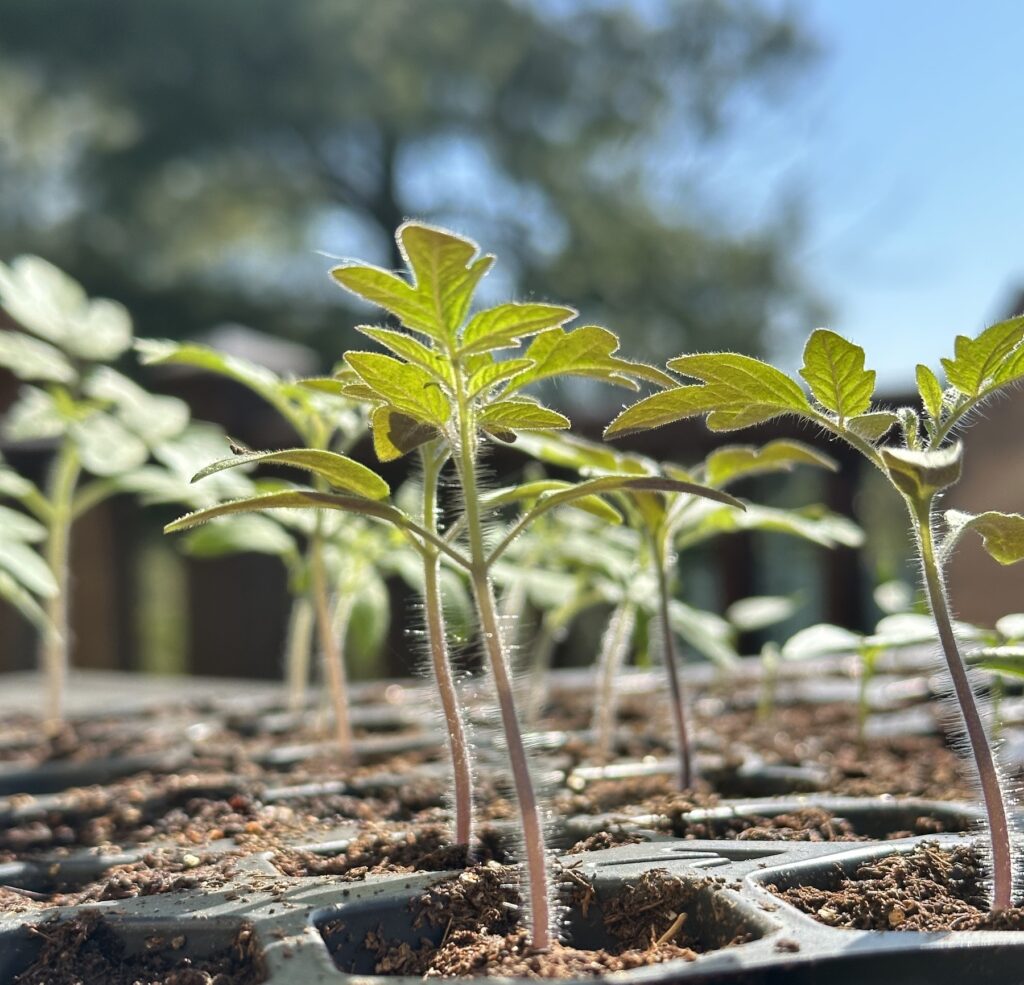
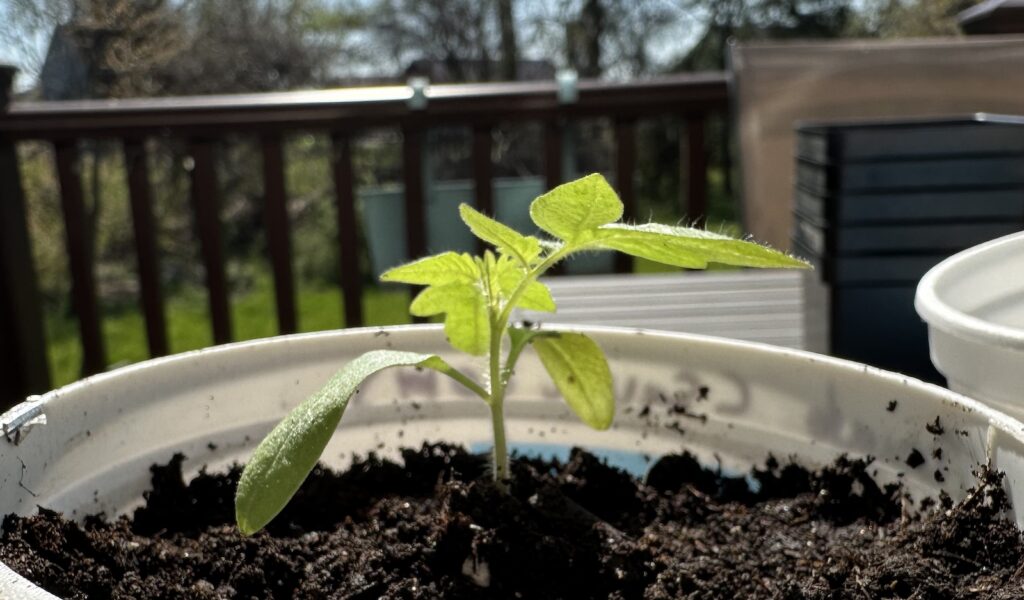
Some folks like to plant their seedlings directly in the garden, but I usually have better results transplanting tomato seedlings from the seed-starting tray to small pots such as yogurt containers or other small, deep vessels. This process should be started 4-6 weeks after germination or after plants have at least two sets of true leaves. In this intermediary phase, I plant the seedlings deeply with about 3/4 of the stem in the dirt. This does two things: 1-encourages more roots to grow directly out of the stem into the soil; 2-secures the plant firmly in the soil to protect it from occasional strong spring wind gusts that will snap the stem.
You can use whatever pots you want. I always suggest used yogurt containers, used large Starbucks or Dunkin cups, or something similar. Drill or punch two 3/8-inch drainage holes in the bottom of each container
The process
1. Prepare your potting soil and pots.
This may mean buying new potting soil or reusing potting soil from last year, like me (yes, you can do that! Just add a little Espoma Garden Tone organic fertilizer to it, first.). While it’s great to add a little organic fertilizer to the potting soil, be careful not to over-fertilize the seedlings. Too much fertilizer can damage the delicate roots and stunt their growth. Whether you buy new soil, find an old bag under your deck, or in the basement, you may find it very dry. In this case, you must pour it into a bucket and hydrate it a bit. Just add some water and mix thoroughly until it feels a little damp, but not soaked or muddy.
2. Water the seedlings thoroughly.
Giving your little plants water will reduce the risk of transplant shock and get them off to a good start in their new pots.
3. Use a plastic fork, plastic knife, or popsicle stick to remove the seedling from its tray.
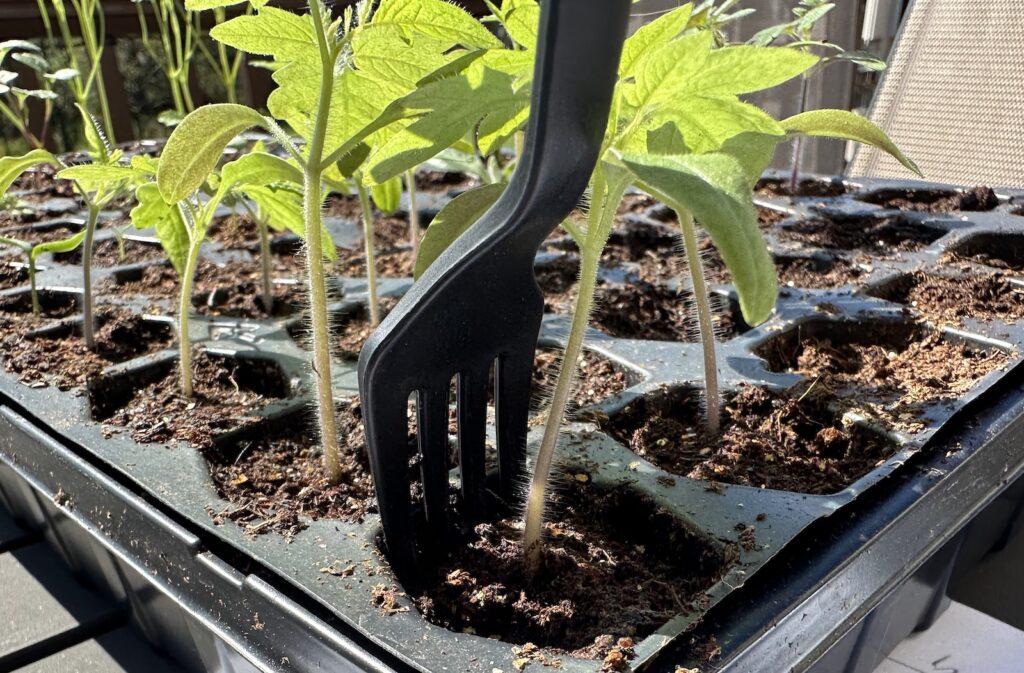
This is a delicate process and if you’re not careful, you’ll break the little stem. Dig deep with your fork along the side of tray and scoop the whole root ball out. Don’t handle the plant by its leaves or stem. Handle it only by the root ball. Take as much of the soil with the roots as possible.
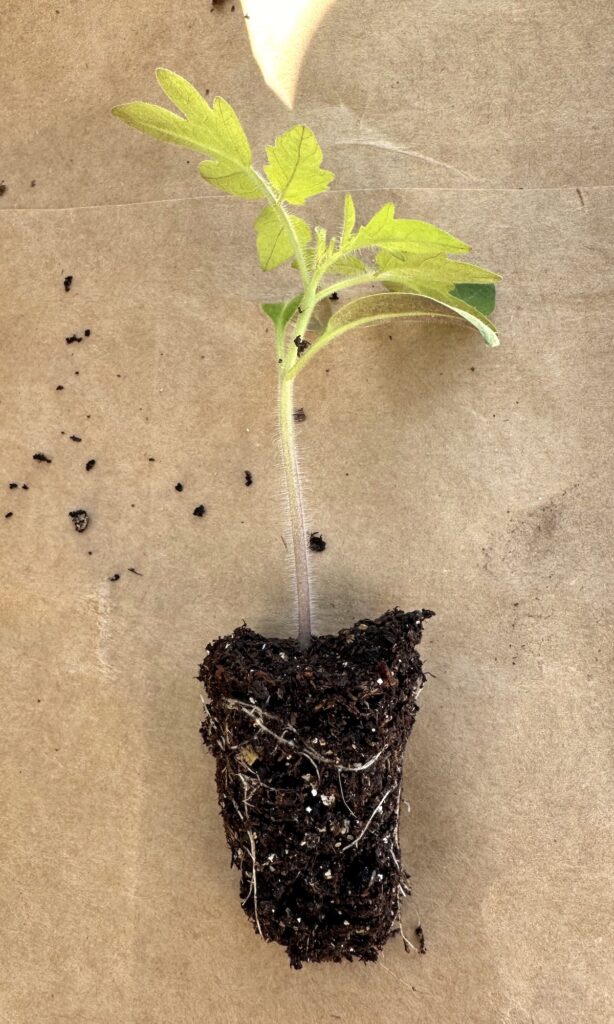
It should now like this:
4. Drop the seedling into its new pot, into a hole deep enough to cover 3/4 of the stem.
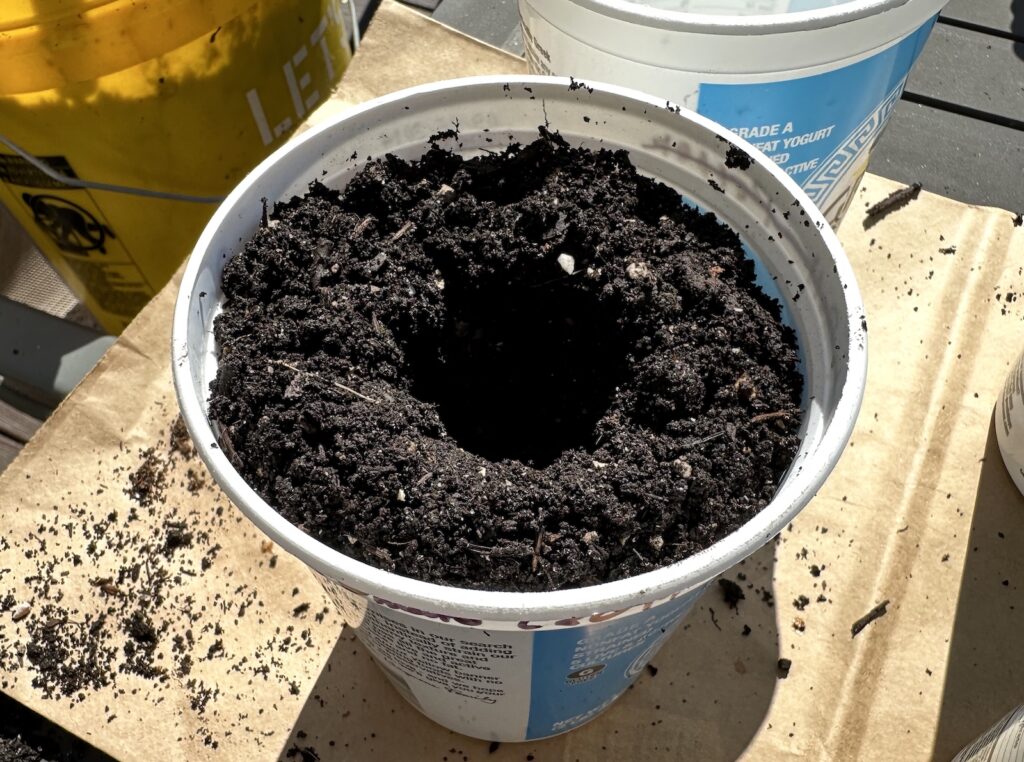
5. Lightly firm the soil around the plant
6. Water again! Make sure the plant is in nice, moist soil with good drainage.
If you don’t water at this stage, your new soil may sabotage you by drawing moisture away from your seedlings’ sensitive roots.
7. Repeat this process for each seedling, then place all of them in a shady spot or inside your home for 24 hours.
This step reduces transplant shock. Consider your plants allergic to the sun for 24-28 hours after transplanting, They need a little time to get their act together before sun exposure! Also, be careful if you have pets. Your hard work could be ruined by curious dogs or cats. Trust me, it happens.
8. Hardening-off: Acclimating your plants to the outdoors.
As long as there’s no frost danger, you can keep your plants outside in a safe, shady spot. Expose them to increasing lengths of sunlight each day over the course of a week or so. You should notice them getting stronger as they begin to grow into their new pots. In this stage, light winds are beneficial for strengthening of stems.
That’s all for now! Just keep your plants watered and don’t forget them out in the sun all day, where powerful sunlight will scorch the tender leaves.
Leave a Reply